

24Fall is entering the home stretch, and many students are starting to receive acceptance offers from their dream schools.
However, receiving an offer doesn’t mean everything is settled! Don’t let all your hard work on applications go to waste because you missed key post-acceptance deadlines!
Today, CheersYou(清柚教育) is here to walk you through the important things to keep in mind after you’ve been accepted.
.png)
1. Verify Your Personal Information
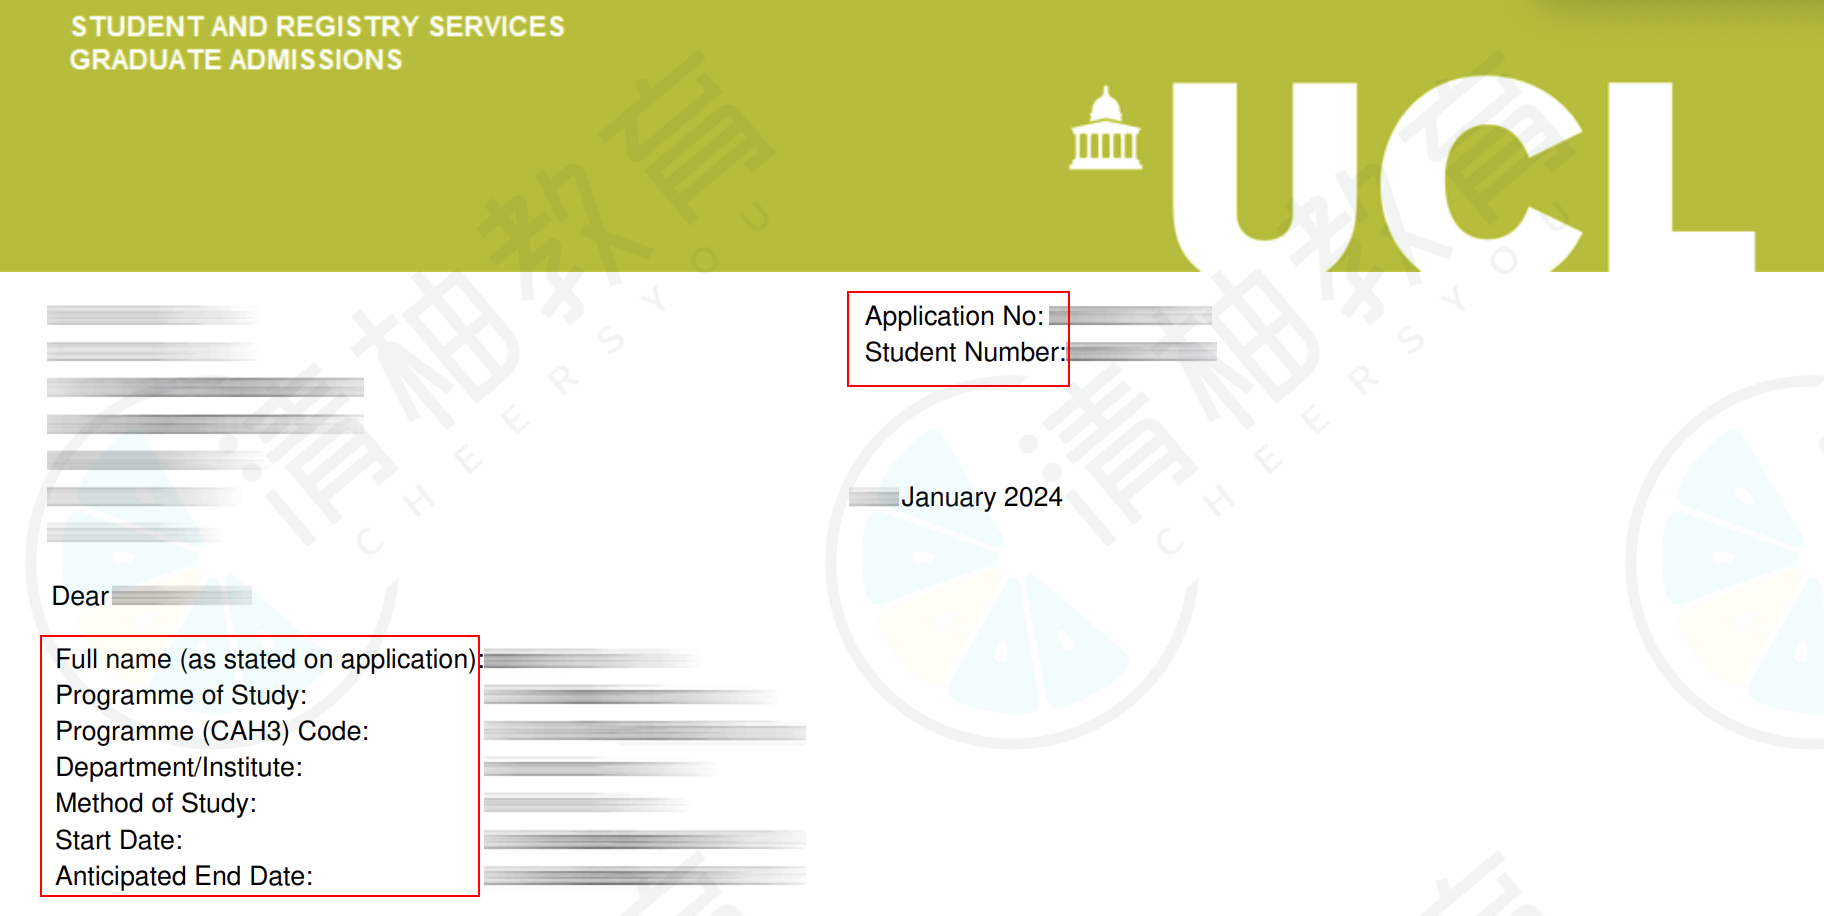
As soon as you receive your offer, make sure that all personal details are correct—your name, date of birth, and the school and program you applied to.
There have been cases where students were mistakenly sent acceptance letters for the wrong program. After all, it’s easy for an international admissions office to confuse one Chinese student’s name with another.
As a student, once you get your offer, double-check that all the information is accurate. Don’t assume the admissions office never makes mistakes.
2. Confirm the Offer Type
After verifying your personal information, read every detail of the offer letter carefully and check the type of offer.
Some students may find they’ve been placed in a pathway or foundation program because they didn’t meet certain requirements, or they received a conditional offer that only becomes valid once they satisfy specific conditions. If those conditions aren’t met, the offer could be voided.
Make sure to read the university’s acceptance letter thoroughly. Reach out to the school in advance to confirm everything and to make sure you understand and can fulfill any requirements. Be fully informed about your offer before you accept it.
.png)
3. Accept Your Offer and Pay the Deposit
Once you’ve decided on your school, immediately check the enrollment deposit amount and deadline.
Many universities include deposit instructions in the acceptance letter, along with links for more information and the deadline date.
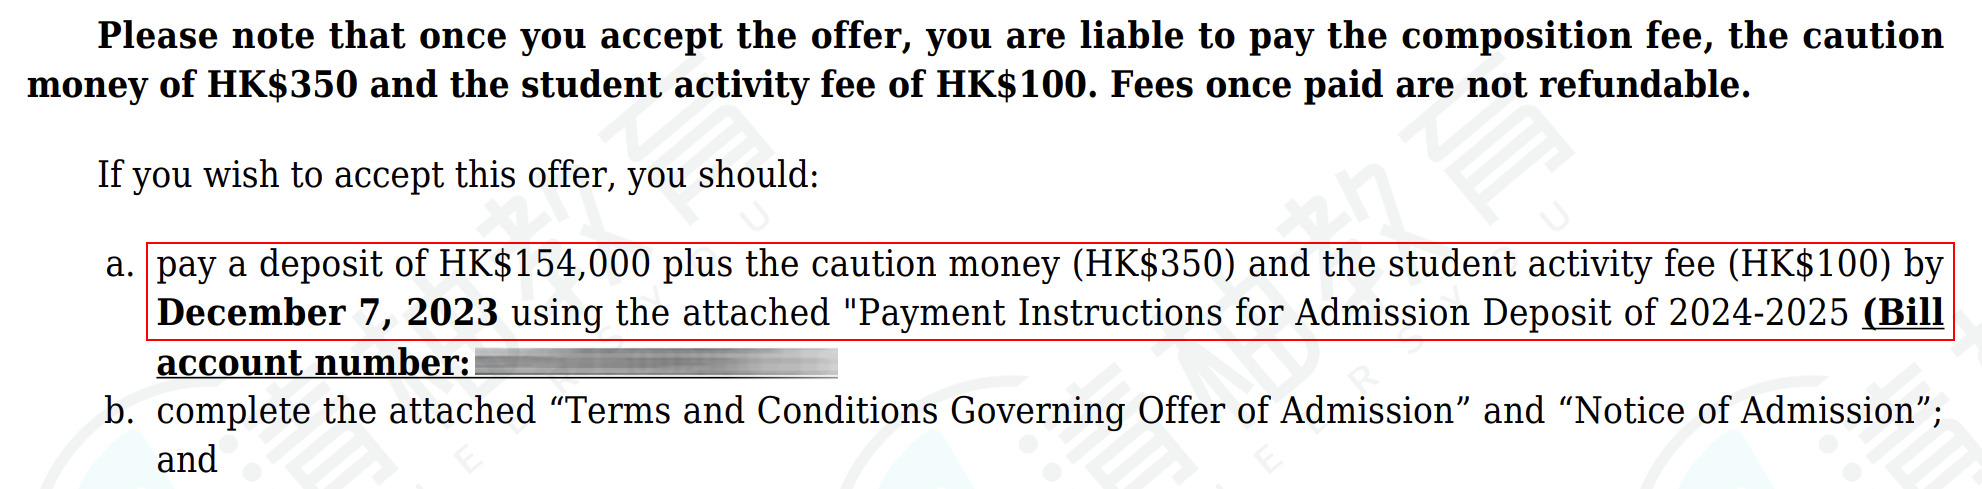
For most schools, the deadline is about 3 to 4 weeks after receiving the offer. Don’t let your spot slip away because you forgot to pay the deposit and confirm enrollment.
This is especially important for programs that require a response during holiday breaks. If you intend to secure your place, act quickly.
4. Register for Your Student ID and Email
After paying the deposit and confirming enrollment, register for your official student account and email right away.
Paying the deposit and accepting the offer is just the first step. The university needs you to complete all registration procedures before they can fully enter you into their system. Once that’s done, they’ll use your student account and email to contact you and send important information about the campus and enrollment steps.
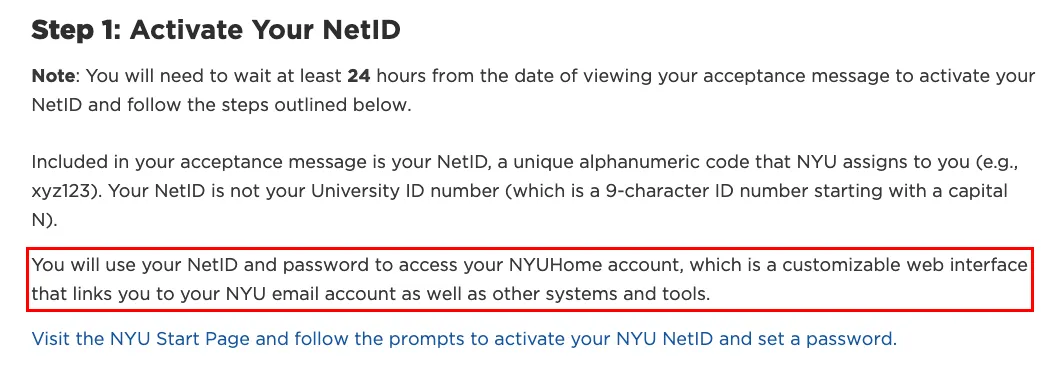
You can find specific ID registration details and steps in your acceptance letter or on the university’s online application portal.
If you have any questions, don’t hesitate to contact the admissions office or the appropriate department immediately.
5. Complete Vaccinations and Submit Health Documents
New schools typically require students to submit proof of various vaccinations. Don’t miss the deadlines for these health documents.
In the post-pandemic era, universities may update their vaccination requirements, so keep an eye on official policy changes.
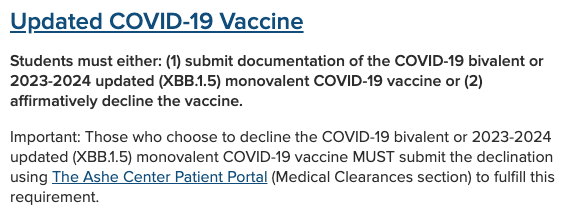
In the U.S., for example, there are clear legal regulations: “All incoming students must provide complete vaccination records before they can enroll and attend classes; otherwise, they cannot enter campus. If a student is found to lack complete vaccination records, they may be subject to legal liability.”
Health regulations differ by country and region, and vaccination requirements can vary greatly between institutions. Make sure you understand your university’s specific rules and allow plenty of time to prepare.
6. Submit Additional Materials and Final Transcripts
Keep in regular contact with your school to confirm whether you need to submit any supplementary materials or send official transcripts, and meet all deadlines.
Some universities require a final official transcript after acceptance, while others ask for it during the application process. If you have multiple offers, pay close attention to each school’s specific material requirements.
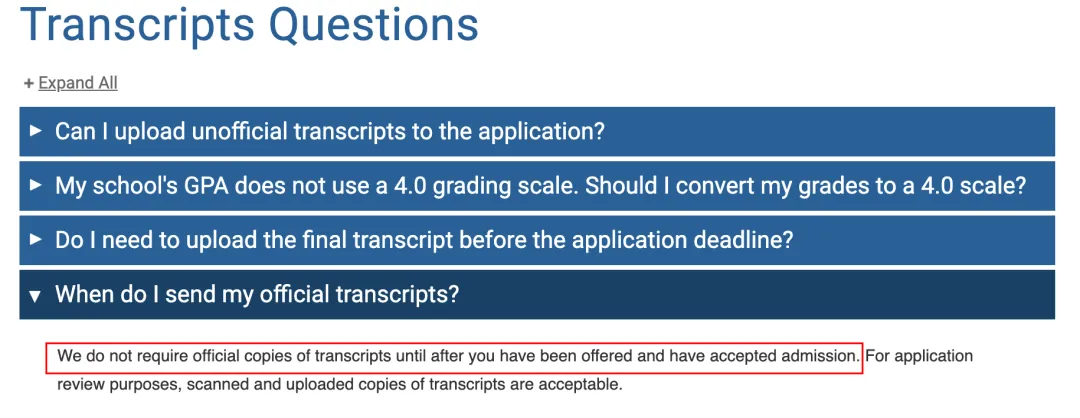
Many schools also require students to send another complete transcript once they’ve graduated and received their final degree-awarded transcript. After confirming enrollment, don’t be careless about sending materials.
7. Credential Evaluation and Degree Verification
For U.S. universities, non-U.S. undergraduate students usually need a WES or similar credential evaluation.
Before enrollment, schools often require an official evaluation of your academic credentials and a re-evaluation of your final complete transcript.
Pay attention to each school’s specific evaluation service requirements. For example, USC requires non-U.S. undergraduate students to undergo an IERF evaluation.

8. Apply for a New Student Visa
Using the U.S. as an example:
For students transferring from a U.S. high school or undergraduate program
You must transfer your SEVIS record from your current school to the new school before the I-20 Transfer Date.
Typically, you’ll need to submit a Request for Transfer Out Form to your current school, obtain a signature from the international student office, and then send the form to your new school to request a Transfer I-20. Make sure the SEVIS number on both I-20s matches. Also, check whether your visa has expired and if you need to renew it.
For first-time international students
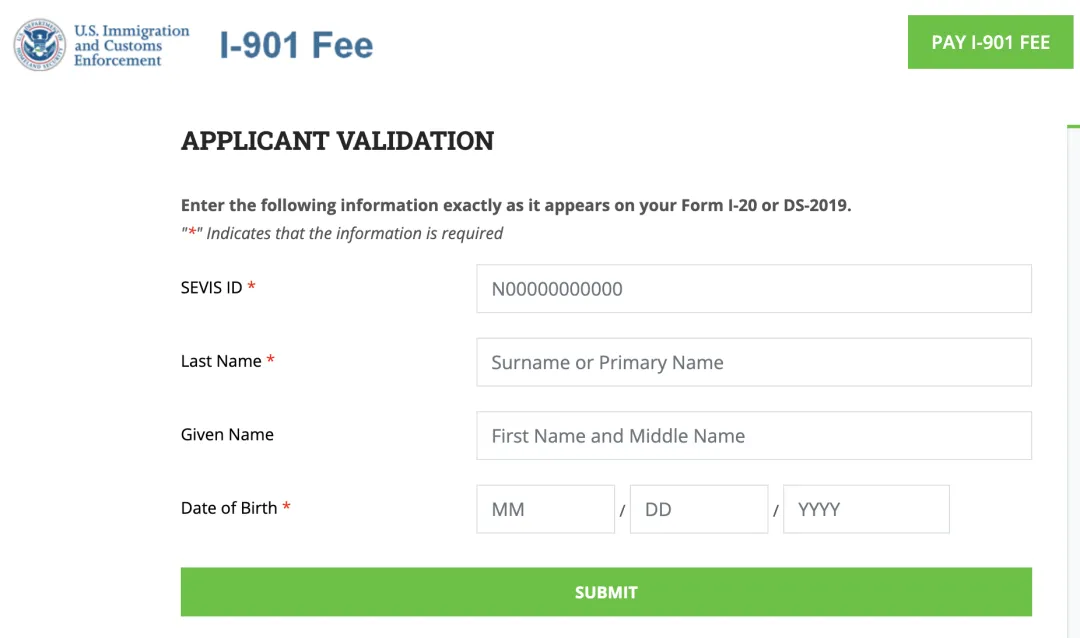
The process is simpler. Just apply for your I-20 before the deadline. After receiving it, pay the $350 SEVIS Fee (I-901 Fee) to activate your I-20.
If you need to schedule a visa appointment quickly, you can first request an electronic copy of your I-20 from the school while waiting for the physical version.
9. Pre-Departure Preparations
Once your visa is settled, you can book flights and arrange accommodation with peace of mind. It’s also a good idea to connect online with student organizations at your new school for help.
Carry a small amount of cash with you when you depart in case of emergencies. Most undergraduate programs offer on-campus housing, but graduate housing is less common, so it’s best to find your own accommodation in advance.

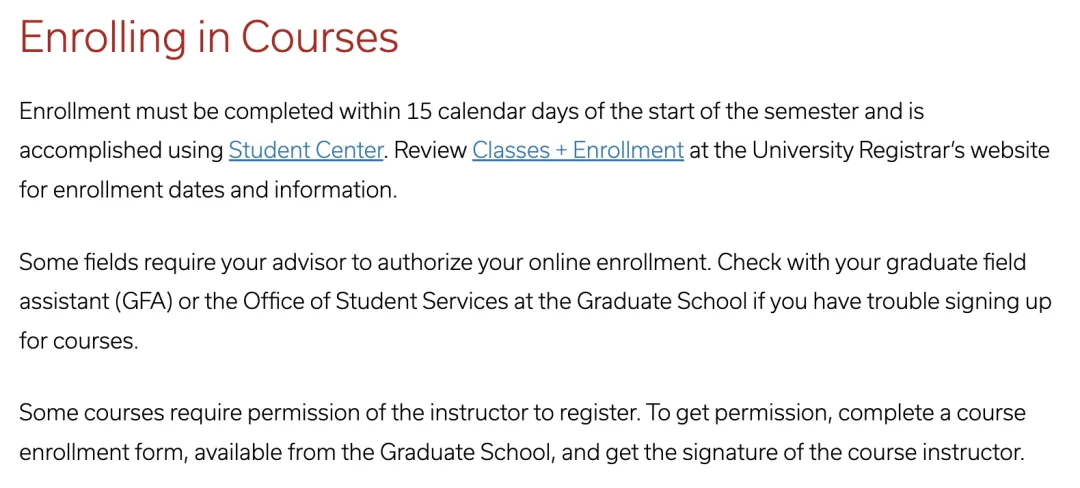
10. Course Registration
Last but not least, don’t miss your new school’s course registration date!
Different colleges, schools, and even specific programs can have varying course registration policies.
Stay in close contact with your school or advisor to ensure a smooth enrollment and avoid any issues with course selection.
Congratulations again to everyone who has received an offer from their dream school! Although these follow-up tasks may seem tedious, you’ll likely handle them with excitement and joy.
For those still waiting for results, don’t be anxious. Admissions offices are notoriously slow, especially around holidays. Be patient—offers will come!
For those still in the planning stages, it’s never too early to get started! The earlier you plan and prepare, the sooner you can submit your application and receive your offer, complete the post-acceptance steps, and fully enjoy your pre-enrollment break!
We wish everyone the best in getting into their dream school~